Gear Inspection for Surface Cracking and Metallurgical Flaws
Gear failure is one of the prominent causes of machinery and operational damage. Usually, a flaw in a gear occurs from excess stress and fatigue resulting from high strain mechanical usage. However, the damage is also possible due to errors like misalignment or lack of regular maintenance. The result can be bigger issues like the development of cracks, fractures, pitting, or other metallurgical failures.
To ensure that these gears operate reliably, technicians may use technologies that help them identify any potential flaws that can hurt the operation and its productivity. For example, nondestructive testing (NDT) techniques can help with gear inspection during various operation phases to yield reliable results. The analysis of the available data through NDT can help operators identify the level of gear damage and potential maintenance options.
Wear and Tear in Gears
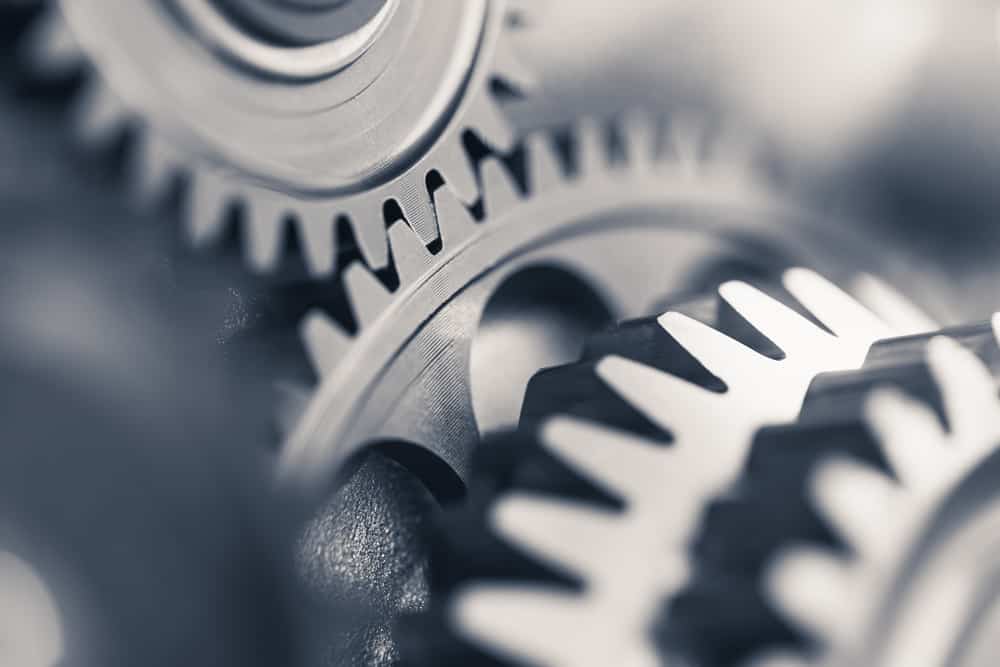
Gears are a vital part of mechanical devices and motorized equipment in industries such as automotive. They help in the transfer of power and motion from one part of the equipment to another. In doing so, a gear engages its design components like “teeth” in the gear wheel.
When exposed to extreme load stress conditions, the gear wheel and teeth can develop fatigue cracks. Other reasons for flaw development in gears can include:
- Excess load and stress
- Misalignment
- High friction and vibration
- Excess heat generation
There is a possibility that the surface cracks or pitting, if not detected in time, can develop into a more severe issue such as machine failure, which can cost industries their valuable time, cost, and productivity.
To stand up to the highly demanding conditions, the gears should be free of flaws. NDT such as ultrasonic testing (UT) and eddy current testing (ECT) are suitable for flaw detection and diagnosis during gear inspection. These NDT methods can inspect gears of varying dimensions and geometries without costing industries any downtime or extraordinary cost.
Gear Inspection with NDT to Minimize Damage
Traditionally, NDT methods like magnetic particle testing (MPT) and liquid penetrant testing (PT) were used to detect surface cracks during gear inspection. However, the accuracy of results from these inspections depended on the operators’ ability and the extent of surface cleaning for inspection. This may have led to flaws being missed. Because of which, a more accurate inspection approach with ECT and UT could improve probability of detection.
Eddy current array (ECA) testing uses electromagnetic waves to detect surface and subsurface flaws in the gear. ECA probes with multiple coils can be sequentially excited to induce a magnetic field into the gear teeth. The presence of surface cracks can hinder the flow of current and magnetic field, which the probe can sense.
The high sensitivity of ECA to surface flaws can help technicians identify the flaws in any orientation along with information on shape, size, and depth. Zetec’s Surf-X eddy current array probe can provide all these features along with recording and analyzing each signal and 2D/3D display to facilitate a detailed result.
Similarly, during phased array ultrasonic testing (PAUT), multiple transducers propagate ultrasonic waves into the gear teeth. Since each transducer can be individually pulsed and focused, it is much easier to inspect the varying geometries in the gear. Any time delays or amplitude changes can be viewed in the A-scan, indicating flaws in gear teeth. PAUT can be especially useful for inspecting pitted gear teeth to identify the subsurface flaws resulting from pitting, which ECA can be insensitive to during gear inspection.
Ultrasonic and Eddy Current Testing as Gear Inspection Solutions
The ideal inspection technique helps operators easily identify flaws while minimizing time and effort. Given the complex geometry of gears, the inspection process is bound to be challenging. The use of ECA and PAUT technologies are, thus, much to the advantage of the industries to address the unique challenges of gear inspection due to their high sensitivity to surface and subsurface flaws, high-resolution scanning, and volumetric inspection ability.
Zetec is a leader in the world of advanced nondestructive testing instruments and services and has industries that increase their productivity and returns by addressing their NDT needs. Our advanced ECA and UT probes suitable for gear inspection enables manufacturers to improve the quality of their machinery and products. For more information—contact Zetec today.

Zetec’s designers are industry-leading experts in ultrasonic and eddy current technologies, and we can help you navigate any of our NDT testing solutions or devices.

