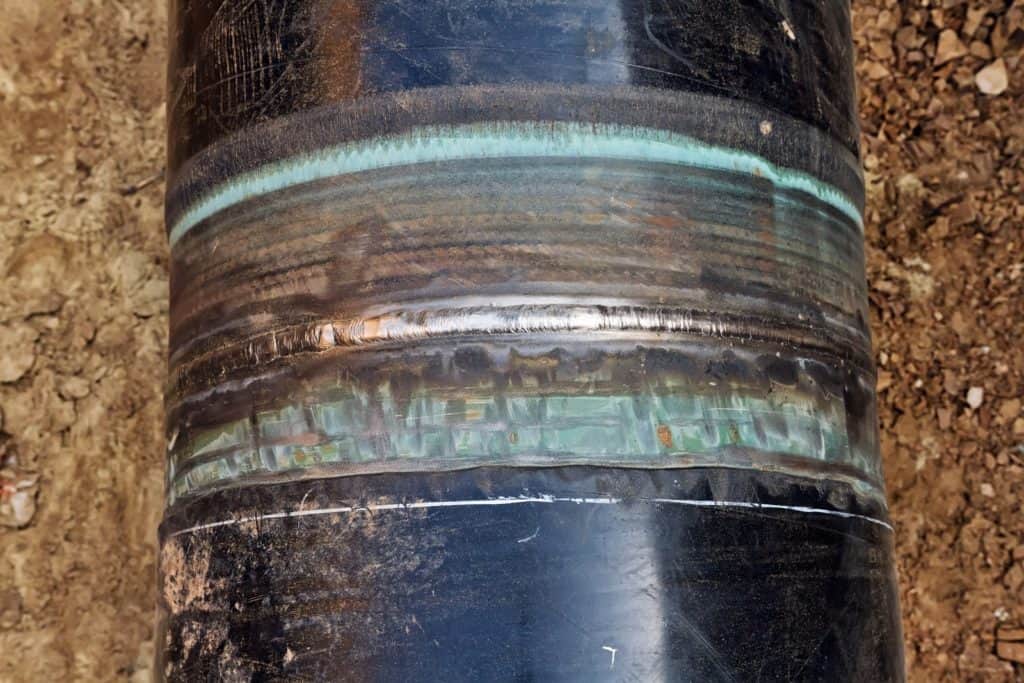
Weld Joint NDT: Best Practices for Butt Weld Inspections

Butt weld inspections call for a specific set of NDT procedures in order to ensure a complete assessment of flaws. In addition to warping and distortion, these kinds of joint welds can be susceptible to cracking or corrosion and can degrade the overall integrity of the asset. Within the world of weld joint NDT, preferred techniques often include radiographic testing (RT), phased array ultrasonic testing (PAUT), and eddy current array testing (ECA). But which is the best approach for butt welded joints?
Utilizing the Best NDT Method for Testing Butt Welds
There is no one best NDT method for testing butt welds. Rather, certain techniques work best in certain situations.
RT of Butt Welds
Radiographic testing uses tubes to produce x-rays of the welding materials used in butt welded joints, with all indications appearing as darkened areas on the results. Welded joints that show cracking, for example, will appear as a dark outline on a radiographic test. Using RT, analysts can expose a variety of flaws for butt welds, such as cracks, porosity, or voids, as well as signs of thinning.
However, it is important to note that RT is not without significant drawbacks, including:
- Health hazards from radiation during the testing process (especially when RT equipment is used on higher settings and for longer periods)
- Reduced efficiency and longer testing times compared to other techniques like PAUT or ECA
- Difficulty discerning flaw depth without the benefit of scanning from multiple angles
PAUT of Butt Welds
Especially compared to conventional NDT approaches like RT, ultrasonic testing (UT) offers greater adaptability and accuracy, and is ideal in instances where increased depth penetration is a high priority. Yet, while standard UT is a fairly effective method for testing butt welds or any welded joints, it doesn’t offer the level of customization (and, therefore, testing comprehensiveness) that phased array ultrasonic testing does.
PAUT is ideal for inspecting more challenging welds, such as stainless steel and austenitic welds. Since austenitic welds contain a high amount of grain reflections that can generate distortions in the data, analysts need a PAUT probe that can penetrate weld joints without producing incomplete reflections. PAUT also offers low-frequency options that help analysts counter propagation issues caused by the high attenuation.
ECA of Butt Welds
While UT (and particularly PAUT) may be more adept at detecting aberrations on a deeper level than other NDT techniques, few approaches come close to the efficacy of eddy current testing when it comes to detecting joint weld flaws on a surface level. ECT is particularly well-suited to thinner butt welds, which are typically more challenging to inspect using UT and PAUT technology.
Specialized eddy current array technology offers an even greater advantage, with benefits such as:
- Enhanced accuracy and coverage when compared to standard eddy current
- Rotatable scanners that pinpoint flaw locations and characterize flaw dimensions
- Greater stability during testing
One practical limitation of ECA technology is that as the operator moves the probe across the surface under test conditions, the excitation coils need to be close to the material for accurate flaw detection and signal quality. It can be a challenge when you’re dealing with complex geometries, different weld shapes and materials, rough surface conditions, and inspection areas that are difficult to reach.
This is where more advanced innovations in ECA can make it a preferred approach to butt weld inspections. Probes that have the ability to inspect welds with complex geometries using multiple array coils and +point coils can make a significant difference. The array coils allow users to cover more testing ground and read heat-affected zones, while the +point coils can conform to more challenging shapes and surface areas, such as weld toes. Look for a probe design that can keep the coils or other sensors closely and properly aligned with the surface of the material as the operator slides it over the surface.
For the best results, analysts need a handheld device that boasts an industry-leading signal quality. When combined with surface array capabilities, users can achieve detailed renderings of weld defects and reduce inspection times significantly.
Improving Butt Weld Inspections with Innovative Technology
Ultimately, for conducting welding inspections on a volumetric level, ultrasonic technology is ideal. Radiographic testing, meanwhile, is best used for testing surfaces and the internal apparatus of a design form. For surface and near-surface testing, however, eddy current array solutions tend to be the most effective.
While choosing the right approach is vital to conducting effective and efficient butt weld inspections, choosing the right equipment—regardless of the technique being used—is just as vital to ensuring the highest level of inspection confidence and data quality.
As such, one of the most important best practices for conducting weld inspections is working with a trusted NDT manufacturer. In terms of ECA, for example, an NDT solution that includes advanced software, multi-functional probing, and the convenience of handheld portability can greatly reduce inspection times, increase accuracy, and optimize testing processes. In short—reliable equipment makes for reliable results.
Zetec is an industry-leading provider of NDT solutions ideal for inspecting butt welds, including eddy current array and phased array ultrasonic equipment. Contact us today to learn more about our products and services, including our innovative new Surf-X ECA probe.

Zetec’s designers are industry-leading experts in ultrasonic and eddy current technologies, and we can help you navigate any of our NDT testing solutions or devices.
